Installing a new tile shower during your bathroom renovation
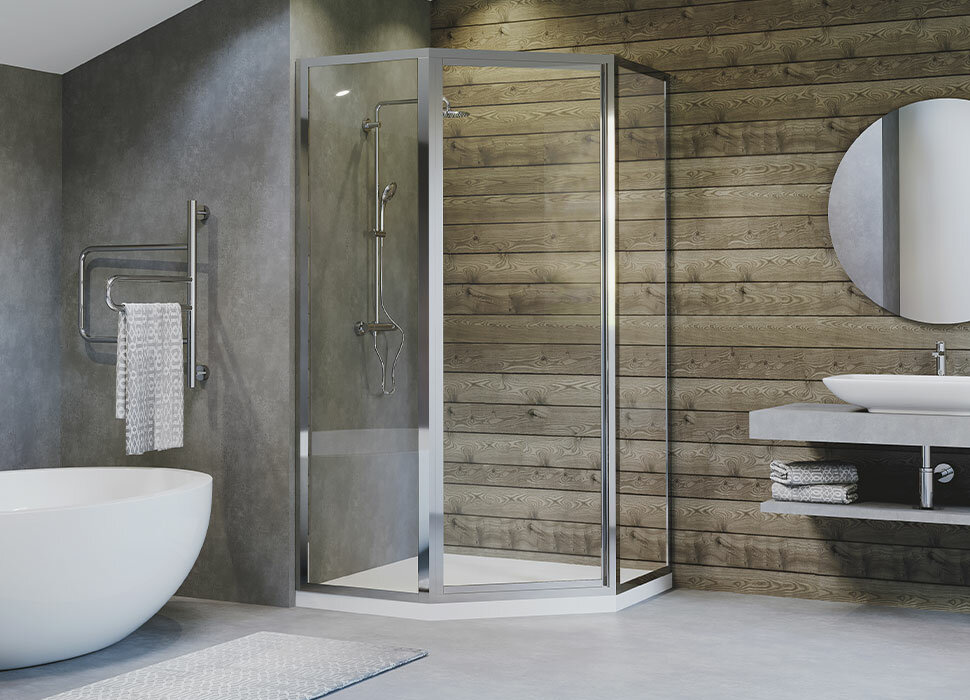
If you have a bathroom in your house you’ve been looking to remodel or update, a good place to start is with the shower. The old fiberglass walls and plastic shower pans really show the age of the house and lack a modern feel to them.
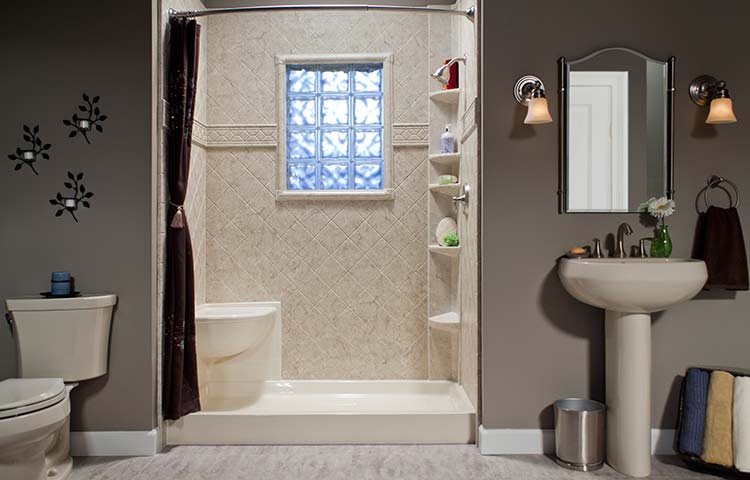
By removing your existing shower and installing a new tiled walk-in shower, you can give your bathroom a completely new look, with virtually unlimited customizability options.
There are roughly 9 steps in the renovation process one you have your tile picked out.
They are
1) Gathering the tools you need
2) removing the old shower
3) opening up the walls and rerouting any plumbing that needs to be moved
4) shower backing and waterproofing
5) installing the shower pan and waterproofing
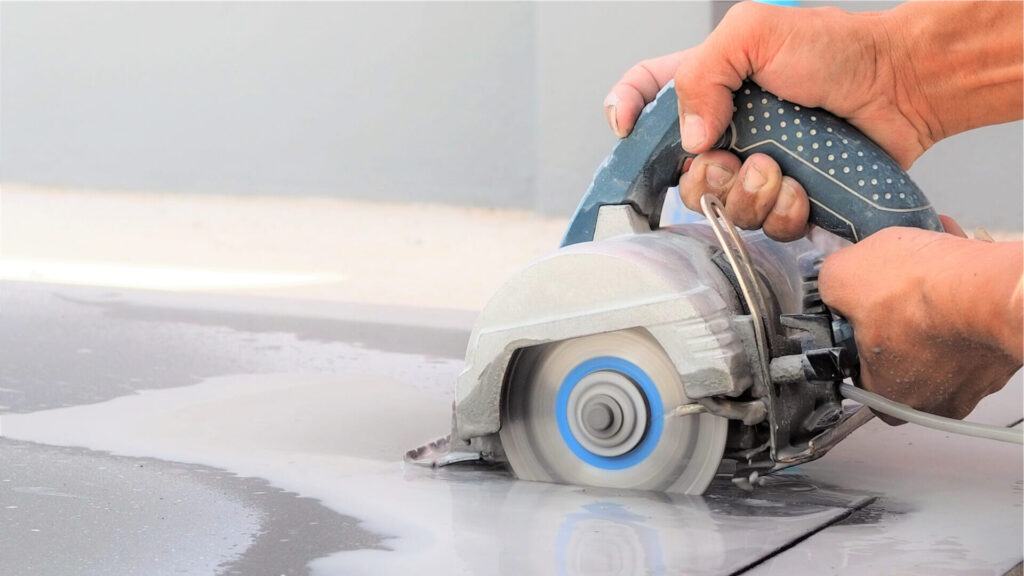
6) cutting the tiles
7) installing the tiles
8) grouting the tiles
9) cleaning up the work space
Step 1: Gathering the tools you’ll need.
If you’re looking at redoing your existing shower with a new tiled walk in shower, you’ll need tools to both remove the old shower, and install the new shower and tiles.
These tools include:
- A circular saw,
- A hammer,
- Tape measure,
- Chalk line (optional),
- Tile cutter,
- Marking pencils (2-3 different colors),
- Utility knife with new blade, for cutting tile and tile backer board.
- Non-slip work gloves.
- Grout Float
- Sponges
- Notched trowel
Step 2: Remove the old shower.
If you’re removing the existing shower it’ll be helpful to have a helper for this step. First remove any shower doors or curtain rods that go through the walls of the house by unscrewing them or unhooking them from their tracks if they are fixed in place.
Ensure either the water main or the water lines to the bathroom are closed off and remove the shower head, and controls. At this point we will also want to remove the grate on the drain and disconnect the drain from the shower pan. This may attach to the shower pan in one of several ways. Many drains have a top and bottom section that screw together and will be easy to disassemble.
You’ll also want to remove the old shower pan from the floor. This might be a molded piece of plastic or fiberglass, or it could be a tile base that has already fallen out of place and separated from the wall. If you use a hammer and utility knife to remove it, start by prying up one edge and work your way along the bottom of it until all of one side is out, then flip it over and remove any remaining pieces from that side.
Once you have removed the old shower pan you’ll need to clean up any old caulk or tile adhesive on the floor surrounding where your new shower will be installed.
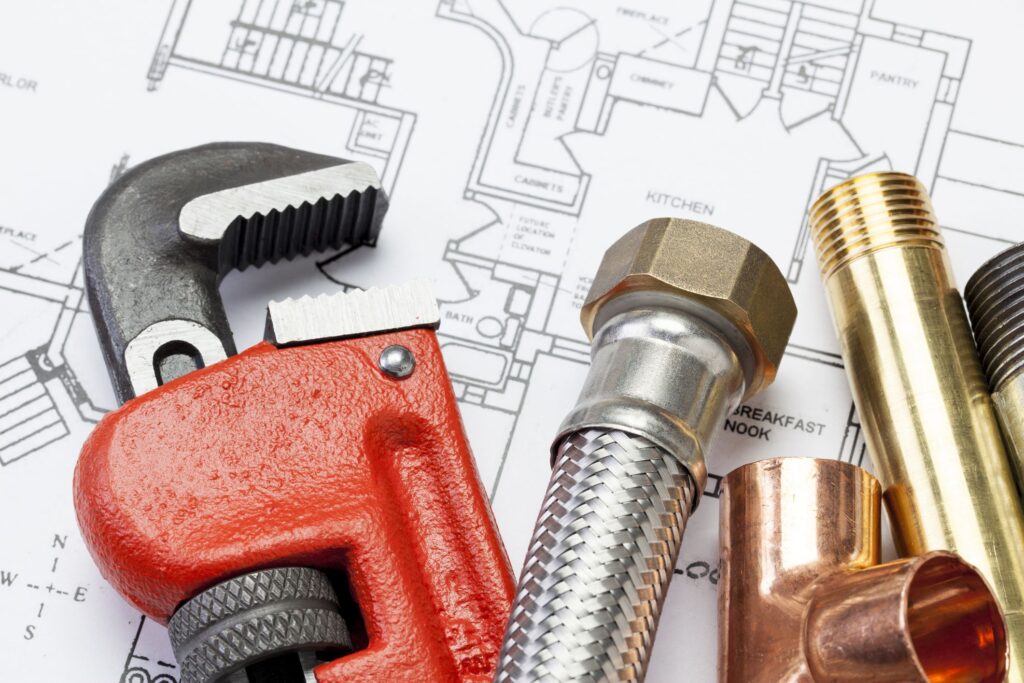
Step 3: Opening up the walls and rerouting any plumbing that needs to be moved
Once you have removed the old shower and it’s walls from the bathroom, you’ll need to begin the process of prepping the walls for waterproofing and new tile installation.
Now is the point in the renovation in which you will need to reroute water lines should you want to adjust the placement of the shower head(s) or taps?
For this step, if you are unfamiliar, we recommend hiring a plumber. These lines will be covered back up behind the wall and be inaccessible after the renovation is complete, so a leak or an improperly installed line could cause disastrous down the road. Have your line checked by a licensed plumber from https://fullspectrumplumbingllc.com/service-area/fort-mill/.
Step 4: Shower backing
Now that the previous shower is removed, and water lines are rerouted if needed, we can begin the process of waterproofing before installing the tile. You’ll begin by installing the backer board on the walls. The most common backer board for shower applications is a type of fibre cement board. It is waterproof, mold resistant, fire retardant and easy to work with if you have the right tools.
The fibre cement board will need to be installed on the walls of the shower. Make sure you don’t cover any plumbing lines that were moved during step 4 of this article. Use your t-square or straight edge to ensure your sheets are perfectly level before moving onto the next step.
Step 5: Install the shower pan and waterproofing
Now we’ll install the shower pan. We have several different options for the pan in our renovation.
There are premade acrylic and fiberglass pans that come in a variety of sizes, where installation can be as simple as setting them into place and connecting the drain. Or there are more customizable options such as a preshaped foam pan that we will cut to the dimensions we want, install our waterproofing membrane and tile on top of.
The most popular waterproofing membrane is made by Schluter systems. We’ll install the membrane to the walls and pan (if we are not using a premade pan) following manufacturers instructions, ensuring a full, even coverage, and sealing all of our edges and seams with membrane tape.
Step 6: Cutting our tiles to size and installing them
For this step we’ll need our tile cutter to produce a rough, level cut to our tiles. Most good quality tile tools will come with a variety of blades for different cuts.
Using your chalks or marking pencils, draw the lines of the shower onto the tiles. Allow for an extra 1/2 inch or so on each side to account for the grout lines and ensure you have enough room around your plumbing fixtures. Marking pencils are easier to erase than dry erase chalks, however either will work well for marking tiles.
Keep in mind the layout and pattern you are wanting to install on the walls and pan and stagger the cuts accordingly.
Step 7: Installing the tiles
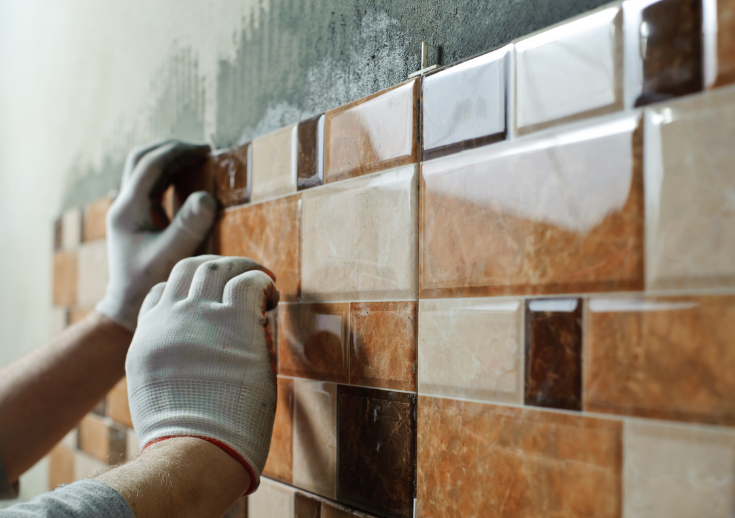
When you have finished cutting your tiles and have them all marked, it is time to install them.
Debates can be made whether to install floor tile or wall tile first, and we are personally a fan of installing wall tiles first. This will keep our floor tiles cleaner and more protected from damage while installing the wall tiles.
To affix the tiles to the wall we’ll use a thin set mortar. Mortar is a white powdery substance that is mixed with water to form a paste similar to cement. We’ll use the trowel to spread an even layer of mortar across our surface, and then lay the tile down into it.
One thing to keep in mind while laying the tiles in place is any inconsistencies in your wall or shower pan may cause uneven surfaces under the grout lines. Make sure you use shims to level out any bumps or dips that may occur under your tiles.
While tiling the walls, start at the bottom and work our way upwards. This helps us prevent sagging. As we work our way up we are able to use the appropriate sized grout spacers between tiles to help support the row above from sliding down the wall as we work on additional rows of tiles.
Step 8: Grouting the tiles
After installing all of our tiles and choosing the type of grout we need for our bathroom renovation, we can mix the grout and begin to apply it.
We’ll use a grout float to install the grout into the gaps between the tiles, filling the lines fully and smoothing them with the grout float.
Once we have filled all the grout lines, we’ll use one of our two tile sponges and a large bucket of clean water to remove the excess grout.
Use the damp sponge to take off extra grout, rinsing the sponge out frequently.
One all of the excess grout is removed, we can use our second sponge, very lightly dampened to wipe away the film and haze left on the tiles from the grout. We want to ensure we remove any excessive grout prior to it drying. The fine film and powder is easy to wipe away with a damp sponge once the rest of the grout has dried, and finished with a cleaning cloth.
Step 9: Clean up
You’ve installed a new shower. Now all that remains is to clean up your workspace and tools, reinstall fixtures and accessories, and enjoy your new bathroom oasis.
For bathroom renovation ideas and inspiration, check out https://www.rebornrenovations.com/bathroom-renovations/