Understanding The Installation Process Of Tankless Water Heaters
If you live in temperate regions of the world, you will most likely need a heating device to heat your bathwater. However, not all heating devices are the same.
The major distinction that can be made for heaters is based on the presence of a tank. A tank is a space where preheated water is stored. However, tankless versions that do not have constant storage of preheated water are more energy efficient. If you wish to install a tankless water heaters in your home, you must read this article to learn about all the steps.
7 Steps To Take When Installing A Tankless Heating Gadget
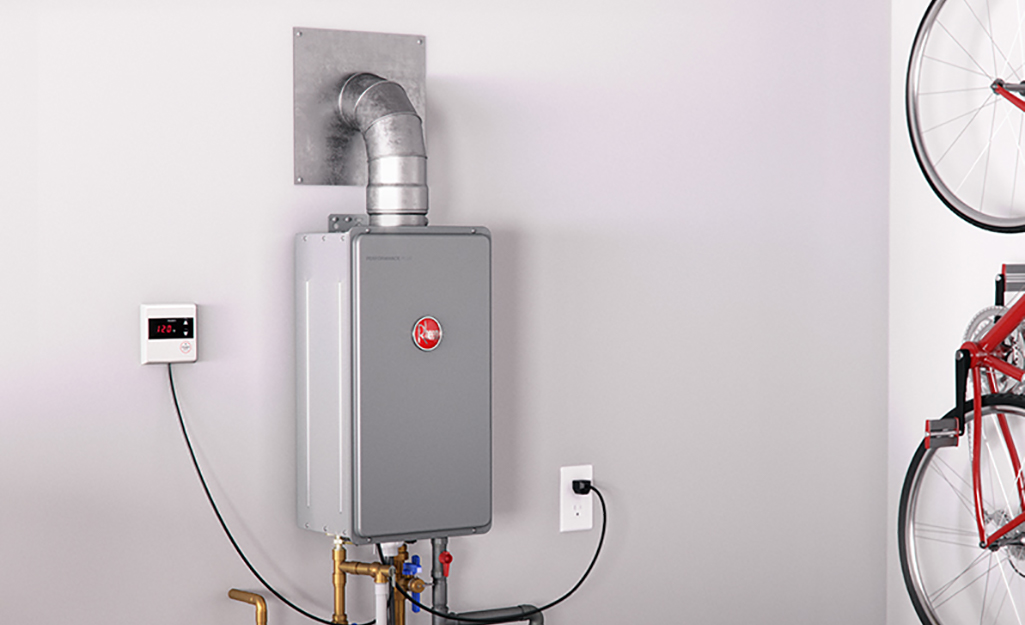
Look For The Right Location
Most tankless heating gadgets are small in size, so finding a suitable place to fix them is not a problem. So look for a convenient place where you can install the heating device. Look for a place that is easily accessible and which is close to the electric circuit board of the house.
Once you have decided on a place to fix the heating device, read the installation manual and make sure you have instruments like screwdrivers and pipe cutters with you.
Start By Checking The Water Pressure
A heating device works best in a particular pressure range for the water that circulates in the gadget. If the pressure of the circulating fluid in your household pipes is around 150 psi, then you are good to go.
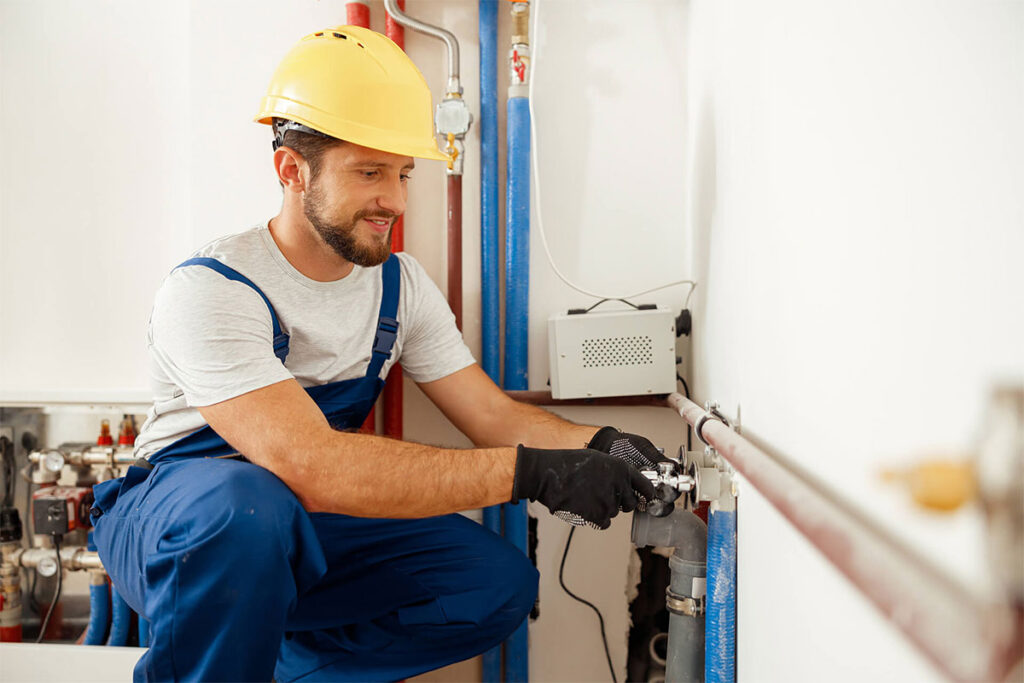
Take All Safety Precautions Before You Start With The Actual Installation
When you are dealing with a heating device, you are actually dealing with a deadly combination of electricity and water. Water is a good conductor of electricity, so if you are not careful, you can receive a fatal shock at any given time during the installation process.
So put in the circuit breaks and switch off the water supply before you start the installation process.
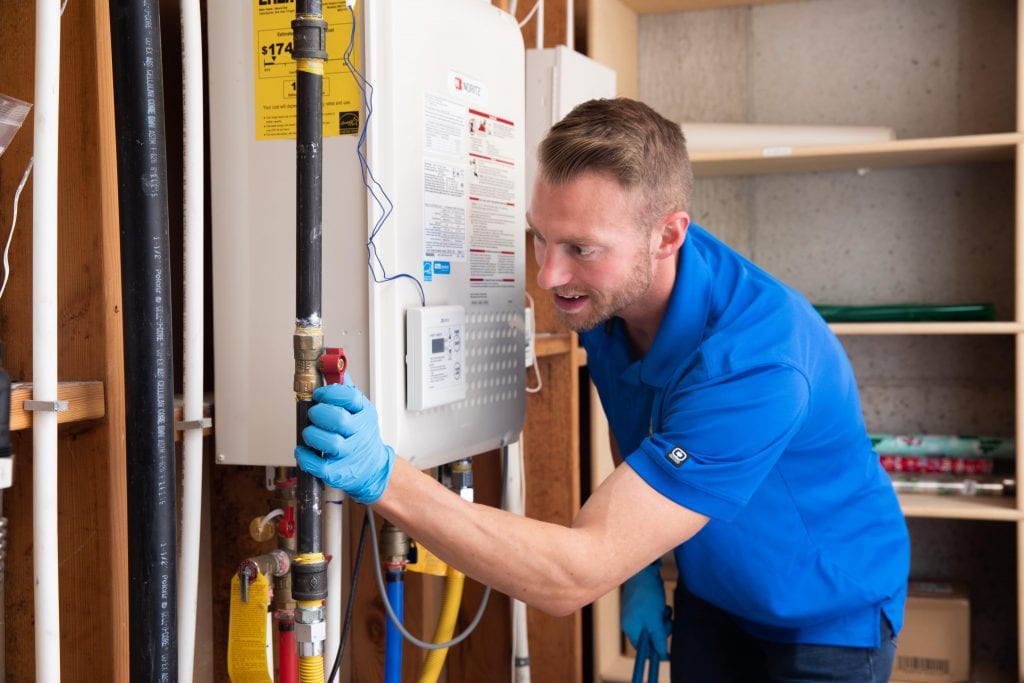
Mount The Gadget Safely
After you have removed the outer body on the front, you have to mount or anchor the device in a safe and secure manner. You can use screws to fix the device and balance its weight carefully against a wall.
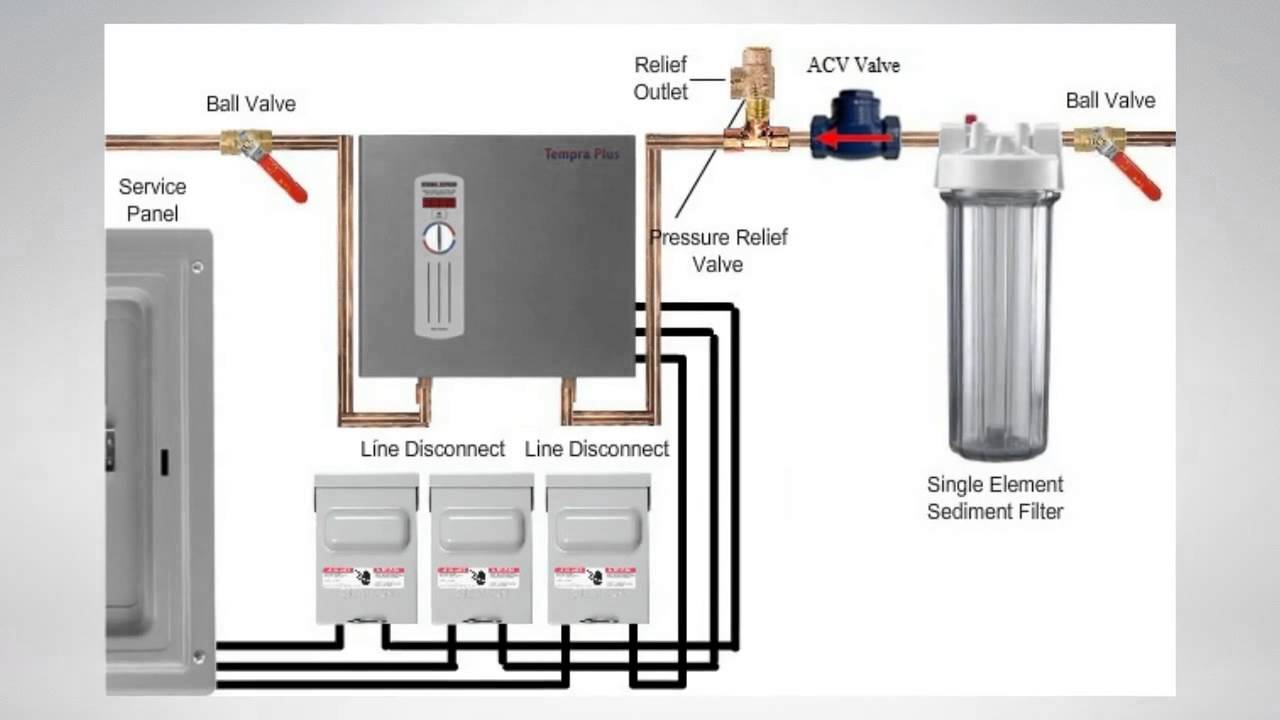
Connect The Pipes For The Passage Of Hot And Cold Liquid
For most heating gadgets, you will need to attach two sets of pipes. One for the inflow of cold water and another for the outflow of the heated water. Usually, the manual for installation has a diagrammatic representation of the ways in which you should attach the pipe. However, if you are unable to connect the pipes correctly, do not hesitate to contact a plumber.
Remove Any Air Bubbles That You May Have Introduced
During the installation process, you inadvertently introduced air bubbles in the pipelines. Remove the air bubbles so that they do not interfere with the working of the gadget in the future. Removal of air bubbles is quite simple.
Final Touches
Put the outer cover back in place and put the circuit in the on position once again.
Conclusion
Installing a heating gadget is not difficult. However, you have to be careful to avoid receiving shocks and to ensure that the installation is flawless.