How to Mount a TV on The Wall in 8 Easy Steps
You might have recently purchased a new TV for your living room, which is why you’re probably thinking about fixing it on a wall. And, although you might hear a lot of people say that the entire installation process is complex and difficult, this is not entirely true, especially since you could make it easy and simple by following some specific steps.
This is why you’re probably wondering – what steps do I need to take in order to properly and easily attach my new TV to a wall in my living room? Luckily for all people asking themselves the same thing, this article can help. Let’s take a closer look at the how-to guide below:
Step 01: Gather The Tools And Equipment
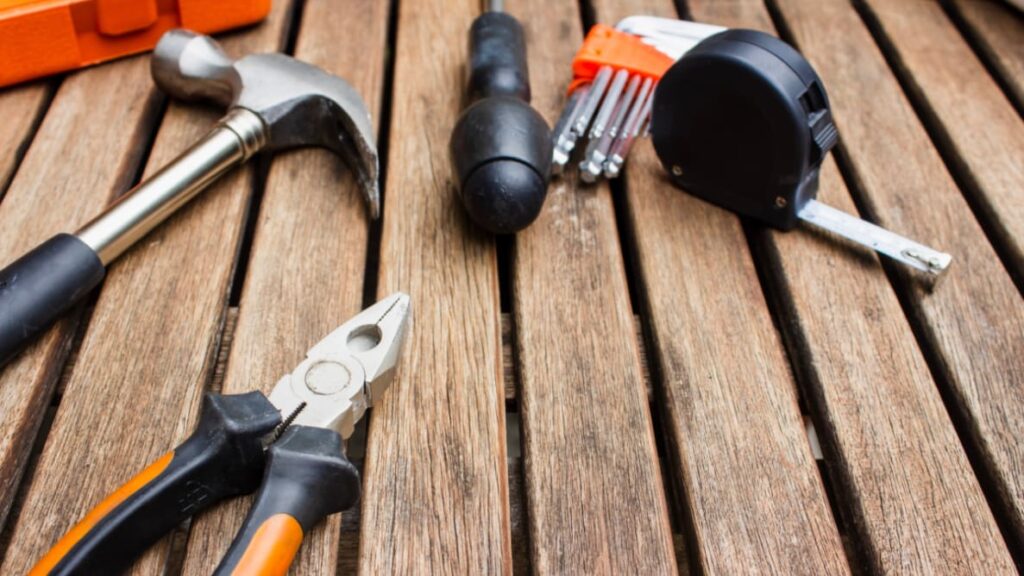
Before you do anything else from this guide, you’ll have to gather all the tools and equipment you’ll require. The things you’ll be required to have for the task include a mount suitable for the device you own, a power drill, a level, a pencil, tape, a large portion of cardboard, a tape measure, a suitable screwdriver, as well as a socket wrench.
Besides the aforementioned things, some of the optional tools that might help the entire process even easier are a cord cover and a stud locator. Keep in mind, if the wall anchors are hollow or if they’re made of drywall, you shouldn’t place the TV on that wall since it won’t be capable of holding the weight.
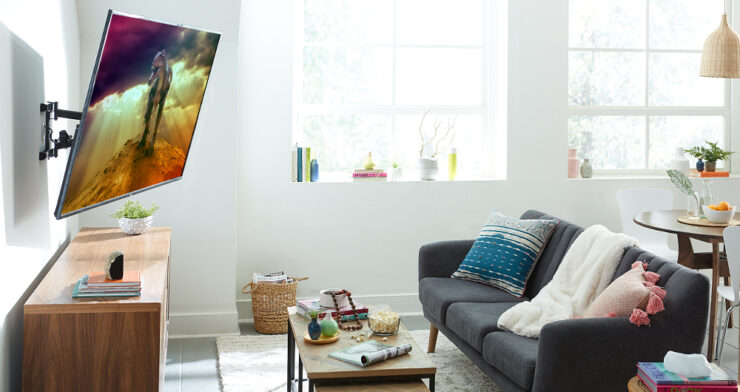
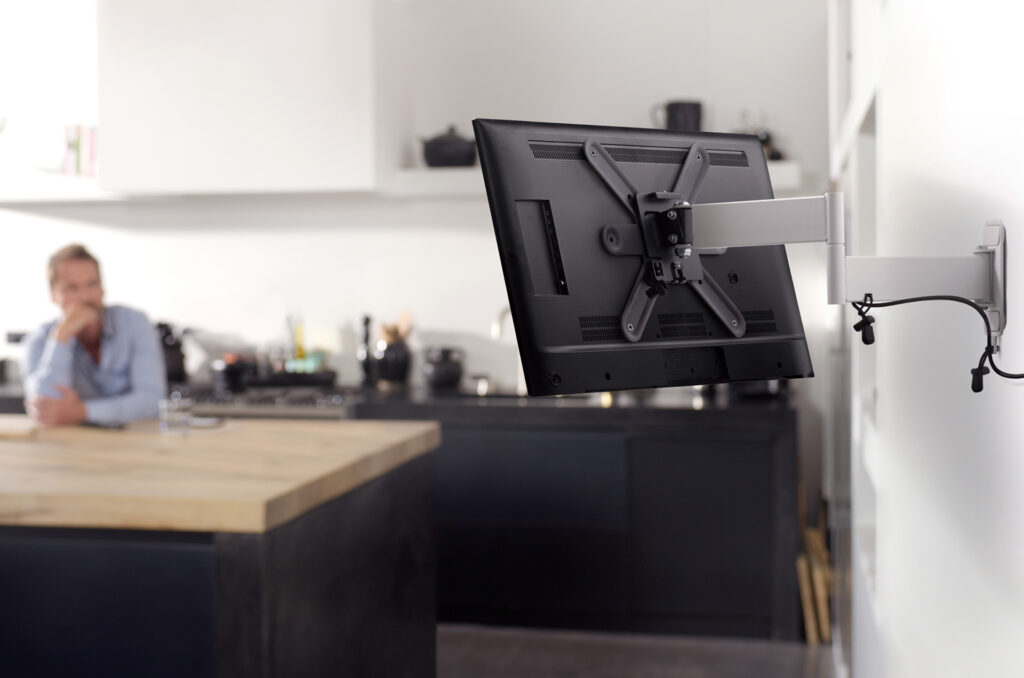
Step 02: Opt For a Mount Model
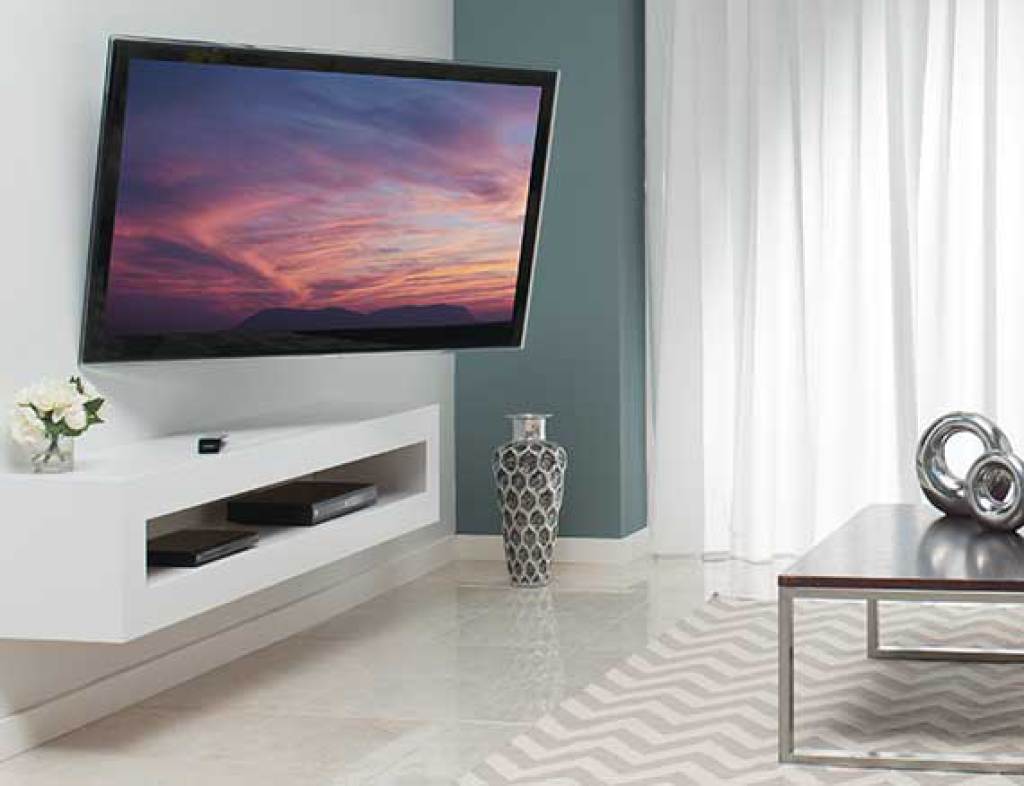
There are basically 2 options that you could choose from. For starters, there are choices that’ll keep your device flat against the surface, and second, there are models that have adjustable swivels, which means that you could adjust the position of the device. Naturally, both options have their own benefits.
The first option is cheaper and generally better for smaller areas, while the other one will allow you to watch your favorite movies or shows from any position. Keep n mind, you’ll have to ensure that it can hold the television’s dimensions and weight. Additionally, you’ll want to study the instruction manual carefully.
Step 03: Take Off The Base And Connect The Mount
If your television set has a base, you should utilize a screwdriver to take off the bolts that are holding the bottom. Place the device against a surface and then you should be able to unscrew the bottom in a few seconds. You should save the bolts and the base since you might opt for using it again in the future.
Next, you should connect the mount you purchased to the television and this is why you need to know the manual. Utilize the bolts to secure the bracket part of the mount to the rear of your device. Remember, you might also need to install and connect an aerial to the TV, and for this, you could opt for professional services such as the ones offered by aerialandsatelliteexpress.co.uk.
Step 04: Determine Where You’ll Place it And Test it
By now, you probably already know where you’ll place it. If you do, you should begin with making a template of the TV by using and cutting the large section of cardboard and then use the tape to fasten it to the location you opted for. You should not forget to sit down and test how it would be like.
Once you are sitting down, you need to assure that the template is correctly leveled and centered, check whether or not you like all the viewing points, and check if the height is suitable. When completed, you should utilize the pencil for slightly marking the edges of the tape and then take the template off.
Step 05: Mark The Support Height And Locate The Studs
You should briefly put the mount to the bracket on your television. When you do, you need to measure from the base of the television to the base of the item, which will allow the TV to hang as you want it to. Next, you should utilize the measurements in order to properly mark the height you want on the surface.
Every model needs to be carried by studs. By using a stud locator, you’ll guarantee that you avoid drilling and damaging your electric wiring, as well as water and gas pipes. Keep in mind, if you don’t use a stud finder, it might result in some serious and expensive repairs.
Step 06: Mark The Level Line Plus The Pilot Holes + Position The Mount
Utilize the pencil to mark the level line. This will guide you later on when you’re connecting the mount. You may end up placing it a bit lower or higher than you initially planned, however, this will depend on the positions of the pipes and cables. In most situations, it’s best to fasten it to the wall with 2 studs.
Hence, you have to use the marked line and location of the mount so that all the screws can be fixed directly to the holders. Once more, you might need to move the device a bit to the right or left, however, doing this will mean that you’ll safely place the mount to your TV. Lastly, mark the pilot holes.
Step 07: Verify The Location + Drill The Holes
You should verify if the holes are correctly positioned over the studs and then check for any obstructions before you start drilling them. Look at the instructions and determine which drill size you’ll have to use. Keep in mind, you should pre-drill the holes for the screws that come with the package. Don’t skip this since it could damage your walls.
Step 08: Install the Mount And The Plate
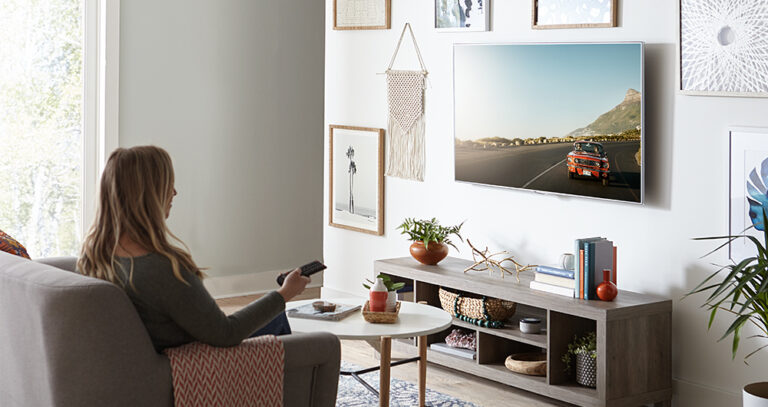
You should place the mount properly and then place all of the necessary bolts. Tighten them until they reach the surface of the wall. You have to do the same thing for the mounting plate. Once you are done, you can start hiding all of the cables with a cord cover and you’ll be good to go.
Conclusion
Attaching a TV to your wall doesn’t have to be a daunting and complex process. By following all of the steps mentioned in the list above, you’ll be able to make the entire installation process easier, less time-consuming, and more importantly, you’ll ensure that your device is properly fixed to the wall.
So, now that you’re aware of all the steps you’ll need to take, you might not want to waste any more of your time. Instead, return to the beginning of the list and start with the first two things we mentioned – which are gathering all your tools and equipment, and determining which mount is suitable for you.