
How to Finish the Ends of Composite Decking in 5 Easy Steps – 2024 Guide
Composite decks are the most popular types of patios for people all around the world. They are practical, easy to use, extremely durable, and you can easily maintain them. The only thing that may cause these platforms to get damaged in time is if you don’t protect the ends of the boards. When the ends are left unprotected, they can gather dust, dirt, pests, insects, and water can easily get trapped. Because of this, you need to find the proper way to finish the edges of the composite decking.
In this article, we are going to give you some ideas on how you can do that, and we will tell you more about the steps that you should take to make the whole patio look perfect. You can click here to find out the best way to finish your composite deck edge. Choose the preferred technique depending on your budget, free time, and how you want the whole space to look.
1. Frame
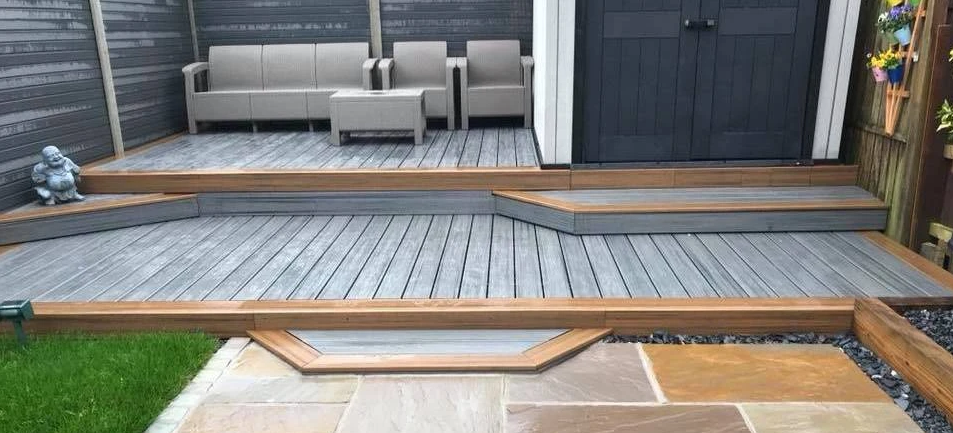
This is probably the most popular way to finish the ends of a composite deck. The reasons why many people choose this technique is that it prolongs the life of the deck itself, it looks beautiful, and you don’t have to worry about the edges getting damaged in time.
The way this is done is by installing boards at the ends of the platform, and they are placed all around the patio. When you look at the platform itself, it will look like there is a picture frame around it. The great thing about this option is that you can choose to use the same colors as the deck itself, or you can choose a deeper shade of the main color.
You are free to play around with colors or even materials, and you can easily give a new dimension and make the space look bigger. Note that if you choose the wrong colors you may end up with a platform that is visually smaller, so choose the hues wisely.
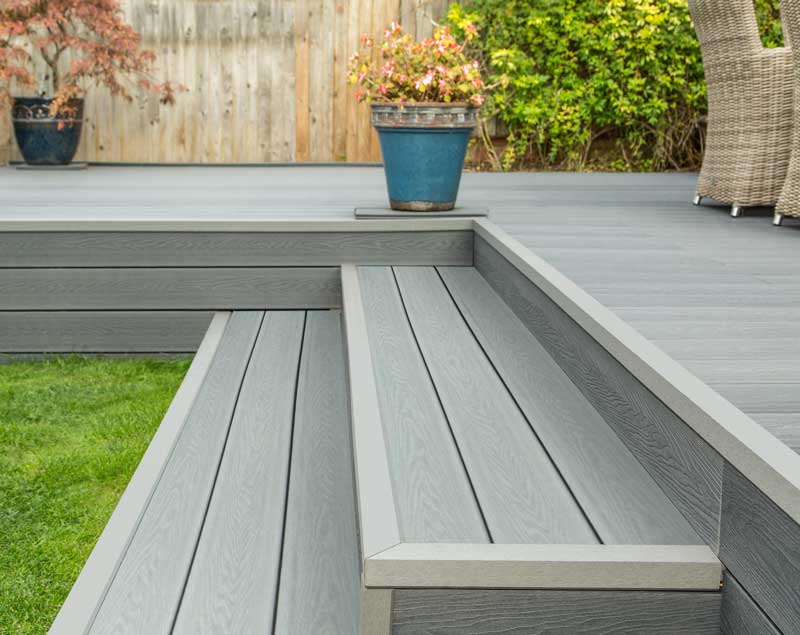
2. Hiding the edges
In case you are not interested in adding anything around the edges, or if you to keep it simple, then you can just hide the ends of the patio with some fascia boards. This technique is preferred by users because it is faster and usually less expensive than the other things on this list.
In some cases, you can even make this a DIY project, and there are only a few easy steps that you will need to follow. Note that when you choose this technique, you should use the same material that you’ve used for the main platform, and you should cut the boards in a way that they will perfectly fit the edges. You should never make the ends stand out, and you should not put them higher than the patio itself.
If you want to create something different, then you are free to choose different colors of the main material, and that way, you will give an additional depth to the space.
3. End caps
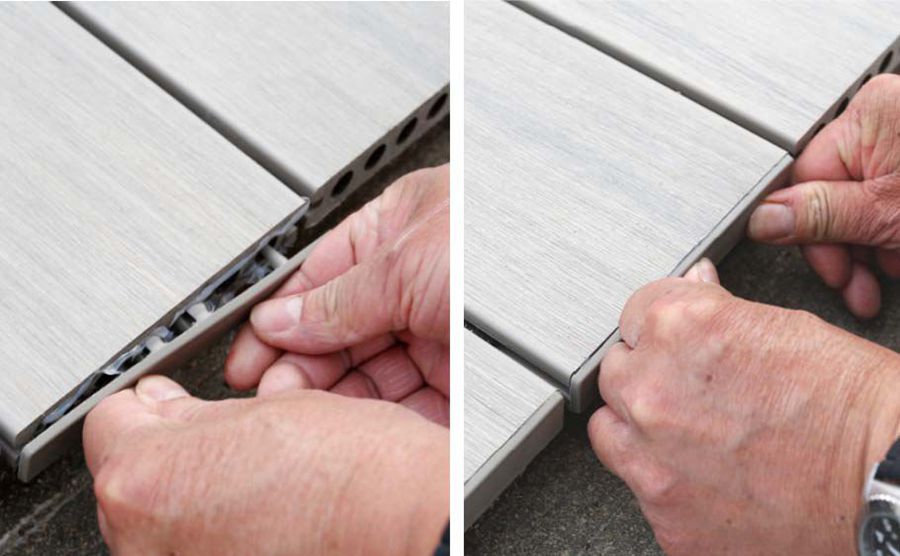
The caps that you can install on the ends of the boards are said to take the whole patio to a whole other level. They are great to use because they are really easy to install and they cost close to nothing. It is definitely the most practical technique, especially if you don’t want to bother adding additional materials or paint to the whole structure.
According to dinodecking, there are a lot of options you can choose from, and you are free to get caps that are the same color as the main platform, or you can create visual edges by choosing something that is lighter or darker.
Note that these units are not only easy to install, but they are practical as well. You won’t have to worry about small animals and pests getting inside the boards, and all the moisture will be kept out. In addition to this, you can change the caps whenever you want, and you can make the whole patio look different just by choosing different colors.
4. Color the ends
This is the easiest technique on this list, and you don’t have to ask for professional help to get this done. We already know why composite boards are one of the best choices for your patio, and the only thing that can be seen as a negative is that the colors on the ends are different than the main color of the boards.
This could easily make the whole patio look worse, and every time you look at it from your garden, you will notice the bare ends. If you want to do something to protect the edges and to gain a uniform look, then you can just paint over them.
With this type of finish, you will prolong the life of the platform itself, you will keep dirt and dust entering them, and you will ensure that the whole place looks better. For this technique, you will only need a brush or a roller, and quality paint made for this purpose only. Put at least two layers on the ends of the boards, and follow the instructions to see if you need to wait for the layer to dry before you apply the next one.
5. Trims
The last technique we are going to talk about here is adding a corner trim. This is not only a cost-efficient thing you can do, but it is also a great way to make your platform look better.
When you do this, you can either contact a professional service to get it done for you, or you can choose to do it on your own. When choosing the boards, experts suggest that you should use the same material as the boards on the deck, and it is preferred to choose the same color as well.
You can install the trims just by gluing them on top of the edges, or if you want to make sure they stay intact for a long time, you should use a combination of glue and screws. You can also nail them in place, depending on your preferred method.
These are some of the things you can do to make your patio look better. Note that you should take care of the edges of the board as soon as you install them, and you should not postpone this. You should choose your preferred method, and no matter which one it is, you should always do it in the dry season when the edges have enough time to dry. Talk to a professional if you are unsure of what would be the best choice for your specific situation, and if you don’t know if you can do it on your own, the team from the service can always help you out with the installation process and ends finishing.